Nuxt.jsで作成したWebアプリを、Amplifyを利用してAWSで公開する手順を記録します。
前準備
まずはAmplifyを利用する準備をします。
下記のコマンドを実行します。
$ npm install -g @aws-amplify/cli続いて、AWSのアカウント情報を設定します。
下記コマンドを実行します。
$ amplify configureそうすると、ブラウザが開いてAWSコンソールへのログインが求められるので、使用するアカウントでログインします。ログインしたら再度コンソールに戻って、Enterを押して質問に答えていってください。
Sign in to your AWS administrator account:
https://console.aws.amazon.com/
Press Enter to continue

Specify the AWS Region
? region:  ap-northeast-1
Specify the username of the new IAM user:
? user name:  {作成するIAMユーザ名}
Complete the user creation using the AWS console
....

Enter the access key of the newly created user:
? accessKeyId:  ********************
? secretAccessKey:  ****************************************
This would update/create the AWS Profile in your local machine
? Profile Name:  default

Successfully set up the new user.
利用するリージョンや、作成するIAMユーザを聞かれるので、答えていきます。IAMアカウント作成後にコンソールにてシークレットキーを聞かれるので、アカウント作成後のブラウザは画面を開いたままにしておくといいでしょう。
アプリの作成
続いてNuxtアプリを作成していきます。
プロジェクト作成
create-nuxt-appを使用してプロジェクトを作成します。
オプションはお好みですが、Rendering modeはSingle page application、Deployment targetはstaticを選んでおきましょう。
なお、2020年末にAmplifyがSSRモードでのデプロイにも対応したのですが、まだ間もないので、情報も少なく、色々と複雑になるので、まずはSPAで慣れておくのが無難と思われます。
$ create-nuxt-app myapp
create-nuxt-app v3.5.2
✨  Generating Nuxt.js project in air
? Project name: myapp
? Programming language: JavaScript
? Package manager: Yarn
? UI framework: Vuetify.js
? Nuxt.js modules: Axios - Promise based HTTP client
? Linting tools: ESLint
? Testing framework: None
? Rendering mode: Single page application
? Deployment target: Static
? Development tools: jsconfig.json (Recommended for VS Code if you're not using typescript)
? Continuous integration: None
? Version control system: Git
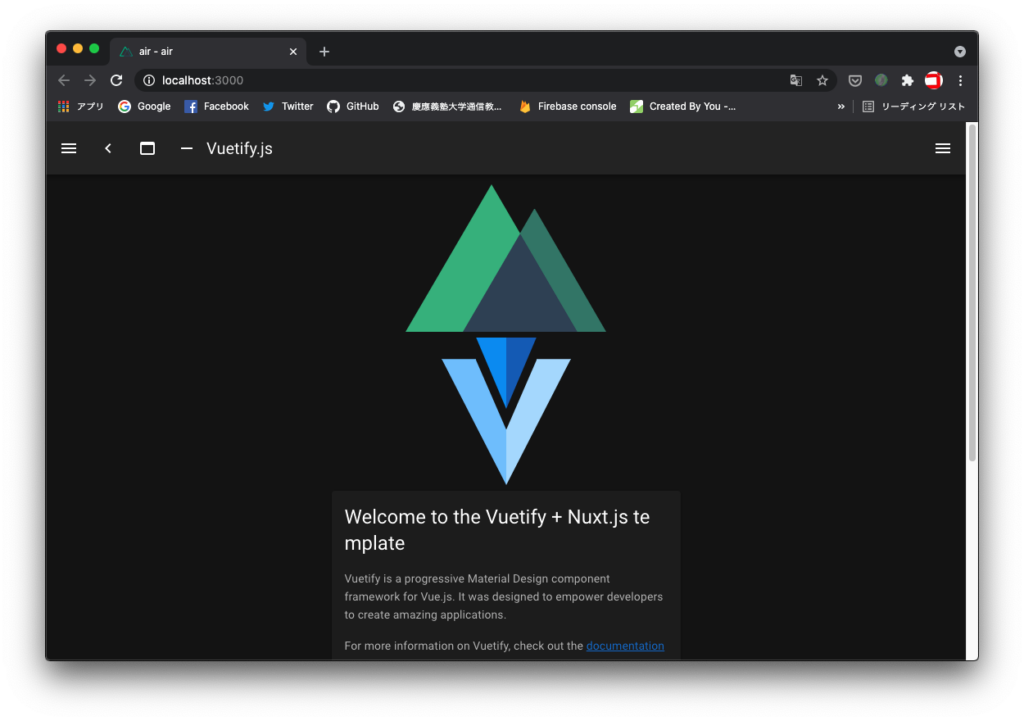
作成完了したら、正常に作成できたか確認しておきます。
下記コマンドを実行し、http://localhost:3000にアクセスしてデフォルトページが表示されたらOKです。
$ cd myapp
$ yarn dev
Amplifyの初期化
続いて、amplify init コマンドを使用して、Apmlifyの初期化を行います。
$ amplify init
Note: It is recommended to run this command from the root of your app directory
? Enter a name for the project myapp
? Enter a name for the environment dev
? Choose your default editor: Visual Studio Code
? Choose the type of app that you're building javascript
Please tell us about your project
? What javascript framework are you using vue
? Source Directory Path:  .
? Distribution Directory Path: dist
? Build Command:  yarn build
? Start Command: yarn dev
Using default provider  awscloudformation
? Select the authentication method you want to use: AWS profile
ここもだいたいは好みですが、javascript frameworkはvueを選んでおきましょう。また、yarnを使用するのでBuild Commandはyarn build、Start Commandはyarn devを入力しておきます。
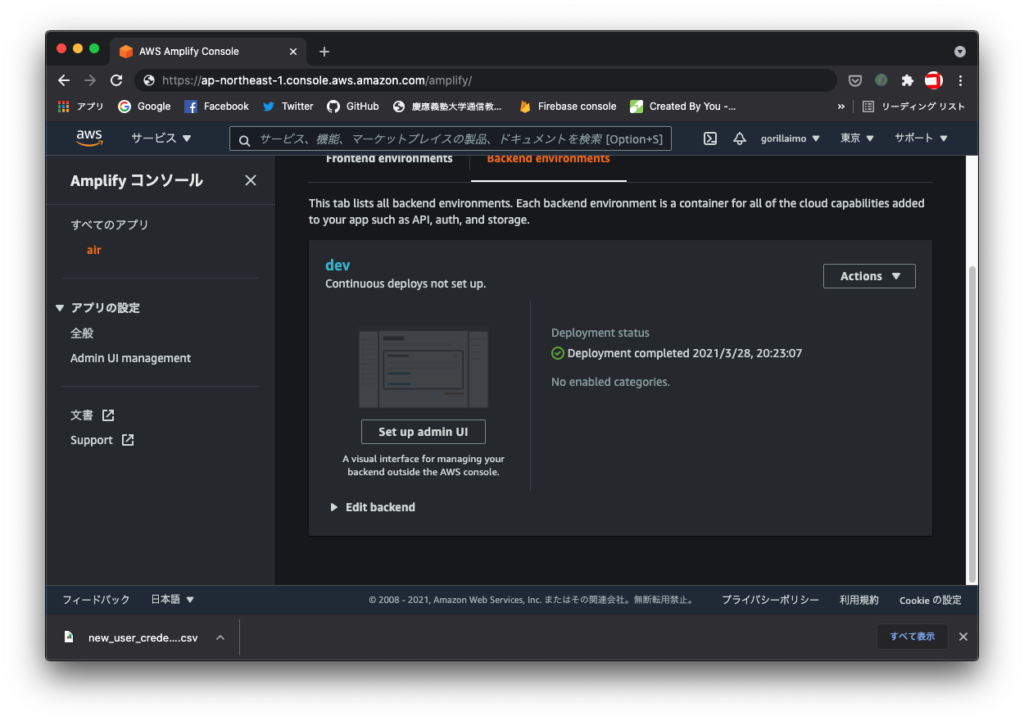
成功したら、AWSコンソールのAmplifyコンソールを開いてみましょう。プロジェクトが作成されているはずです。

プロジェクトへAmplifyライブラリを追加する
続いて、NuxtプロジェクトへAmplifyライブラリを追加します。
下記のコマンドを実行してインストールします。
$ yarn add install aws-amplify @aws-amplify/ui-vue試しに1つAPIを作成してみます。GraphQLを選択してその他は回答してください。
$ amplify add api
? Please select from one of the below mentioned services: GraphQL
? Provide API name: myapp
? Choose the default authorization type for the API API key
? Enter a description for the API key: air
? After how many days from now the API key should expire (1-365): 7
? Do you want to configure advanced settings for the GraphQL API No, I am done.
? Do you have an annotated GraphQL schema? No
? Choose a schema template: Single object with fields (e.g., “Todo” with ID, name, description)
これで、自動的にスキーマが定義されたファイルが作成されます。
// /Users/ryota/Documents/Develop/lesson/air/amplify/backend/api/airapi/schema.graphql)

type Todo @model {
  id: ID!
  name: String!
  description: String
}
では、APIをデプロイしてみましょう。
$ amplify pushデプロイされたAPIを確認します。
$ amplify status

Current Environment: dev

| Category | Resource name | Operation | Provider plugin   |
| -------- | ------------- | --------- | ----------------- |
| Api      | airapi        | No Change | awscloudformation |
インストールしたライブラリをプラグインとして読み込み、利用できるようにします。/puluginsディレクトリにamplify.jsを作成して下記の通り入力してください。
(/plugins/amplify.js)

import Vue from 'vue'
import Amplify from 'aws-amplify'
import '@aws-amplify/ui-vue'
import awsExports from '../aws-exports'

Amplify.configure(awsExports)
Vue.use(Amplify)
nuxt.config.js にてモジュールとして追加します。
// ...省略
plugins: [
    { src: '~/plugins/amplify.js', ssr: false }
],
// ...省略
下記のコマンドを入力すると、AWSコンソールから確認することもできます。
$ amplify consoleCognitoでの認証機能を追加する
続いて、Cognitoを使用した認証機能を追加していきます。下記のコマンドを実行してください。
$ amplify add auth質問に答えていくだけで認証機能が追加されます。次に、下記のコマンドを実行して再びデプロイします。
$ amplify push認証用のコンポーネントが使えるので、vueファイルにて、下記のタグで囲みます。
<template>
  <amplify-authenticator>
    <amplify-sign-out></amplify-sign-out>
  </amplify-authenticator>
</template>
アプリのホスティング
最後に、作成したアプリをホスティングします。
$ amplify add hosting
? Select the plugin module to execute Hosting with Amplify Console (Managed hosting with custom domains, Continuous deployment)
? Choose a type Manual deployment
$ amplify publishまた、Amplifyでは複数の環境を用意することができます。環境の追加や切替といった操作は以下のコマンドを使用して行います。
// 環境の確認
$ amplify env list

// 環境の追加
$ amplify env add

// 環境の切替
$ amplify env checkout {環境名}

// 環境の削除
$ amplify env remove {環境名}


コメント